はじめに
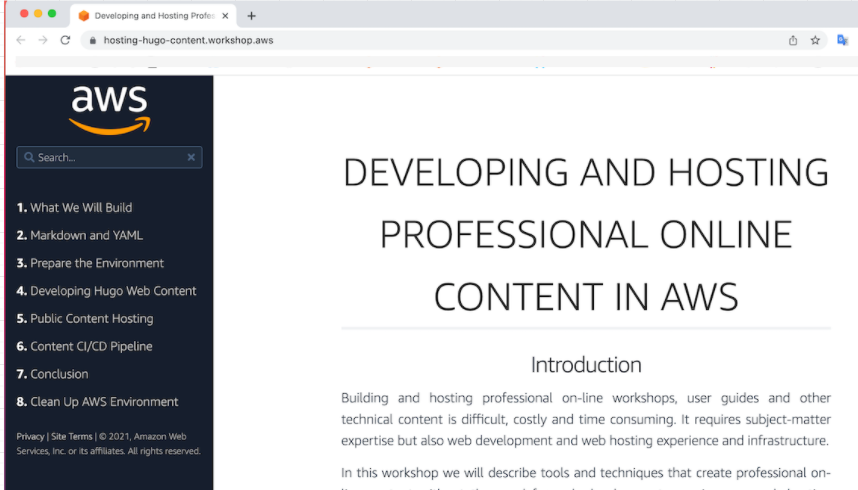
唐突ですが、AWS Workshopsというサイトをご存知でしょうか?
AWS Workshopsは、AWSが公式に提供しているハンズオンコンテンツで、AWS各種サービスについて、実際に手を動かしてみたい場合に大変重宝するサイトです。
さてこのサイト、とてもお洒落な作りになっていますが、どのように作られているのでしょうか?
答えは、Hugoと言われるGo製の静的サイトジェネレータと、Learnと呼ばれるテーマ(Theme)を使って作られているようです。
実はこのAWS Workshopsのコンテンツの一つに、このようなハンズオンサイトの作り方のハンズオンがあります!折角なので、試してみたいと思います。
https://hosting-hugo-content.workshop.aws/

※ハンズオンの主目的は、Hugoの使い方でなく、AWS Amplifyを活用したホスティングサイト構築手法(CICD込み)ですw
構成図
本記事の構成になります。記事の編集、追加などは、Cloud9(EC2)からAmplify CLI経由で操作(amplify push)します。
AWS Workshopsのハンズオンでは、6章「CONTENT CI/CD PIPELINE」でCodeCommitを経由したCICDが学べます。
また、AmplifyのHosting environmentsは、GitHubなどとの連携も可能ですので、こういう構成も可能かと思います。
Hugoセットアップ
詳細はハンズオンを見てもらうとして、Cloud9を使っていきます。初めにHugoをインストールします。Goで作られたシングルバイナリなので、ダウンロード後に解凍し、パスの通ったディレクトリへ実行ファイルを置くだけで利用できます。
$ wget https://github.com/gohugoio/hugo/releases/download/v0.71.0/hugo_extended_0.71.0_Linux-64bit.tar.gz -O hugo_extended_0.71.0_Linux-64bit.tar.gz
$ HUGO_TAR="$(find . -name "*Linux-64bit.tar.gz")"
$ tar -xzf $HUGO_TAR
$ chmod +x hugo
$ mkdir bin
$ mv hugo bin/
$ cd ~/environment/

# Hugoがインストールできているかの確認
$ hugo version
Hugo Static Site Generator v0.71.0-06150C87/extended linux/amd64 BuildDate: 2020-05-18T16:15:29Z
サンプルサイトの確認
# 事前に、Hugoで作ったサンプルサイトをダウンロードします
$ git clone -b v2.0 --single-branch https://github.com/t-tkm/aws-amplify-hugo-hosting.git && cd aws-amplify-hugo-hosting

# ブランチは空
$ git branch
* (no branch)

# 適当にブランチ名をつけておく。
$ git switch -c hugo

# themesの中身は空なので、新たに取得する
$ git submodule update --init
Hugoでサーバーを起動して、サイトを確認します。Hugo Serverはデフォルトで1313ポート番号を使いますが、Cloud9のPreviewを使うため、ポート番号として8080を指定してサーバを起動します。
$ hugo server -p 8080

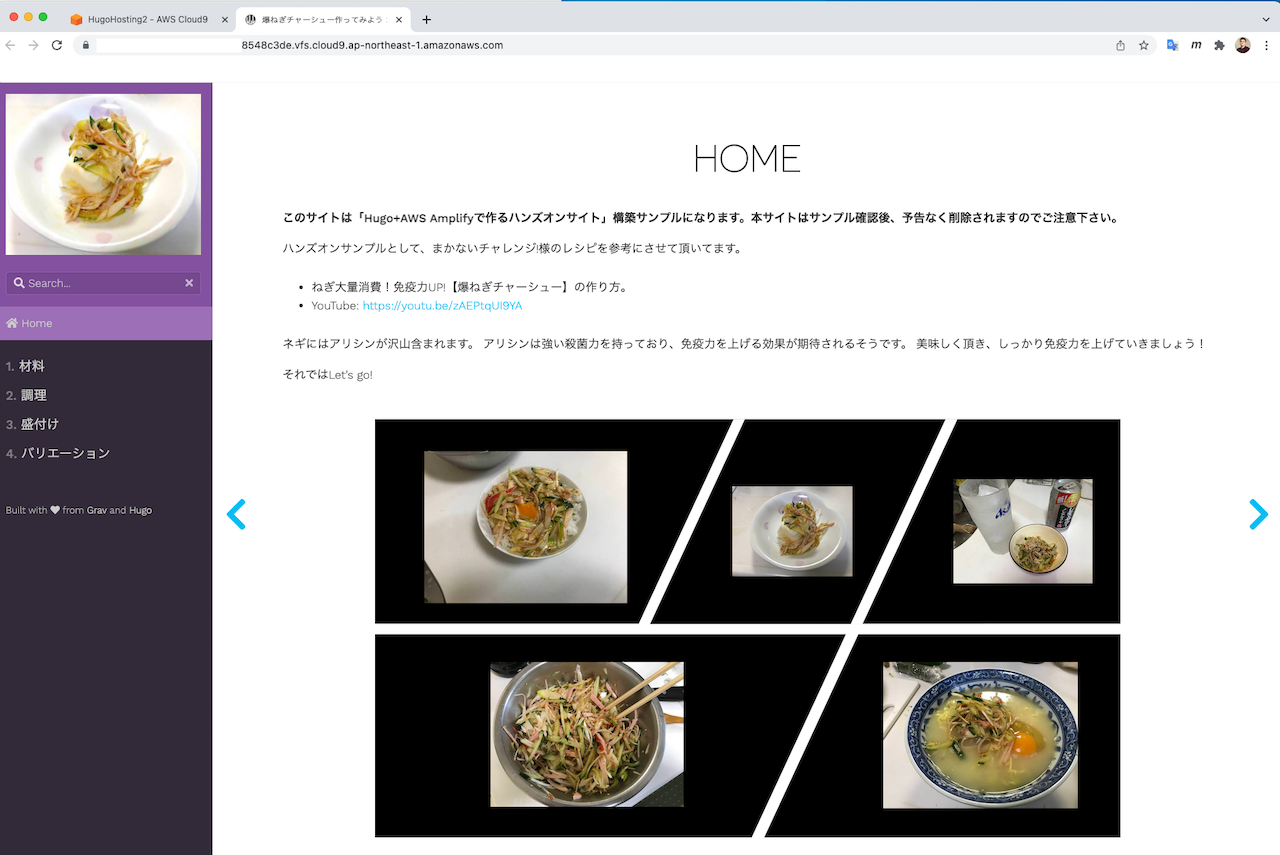
ちゃんと表示されました。

Amplifyセットアップ
サンプルサイトはローカルで動いているため、外部から参照できません。従って、公開サイトとしてホスティングすることになります。そこでAWS Amplifyが活躍します。
Amplify CLIをインストールします。Cloud9はデフォルトでNode.jsがインストール済みなので、npmでパッケージインストールするだけです。
$ npm install -g @aws-amplify/cli@4.21.1

# インストールできているかの確認
$ amplify -v
Scanning for plugins...
Plugin scan successful
4.21.1
以上でAmplify CLIを使う準備が整いました。
Amplifyでサイトを公開
Amplifyを初期化します。
# Initialize AWS Amplify
$ amplify init
設定パラメータは下記になります。

$ amplify add hosting
こちらも、設定パラメータを確認しておきます。

$ amplify status
Current Environment: main
| Category | Resource name   | Operation | Provider plugin   |
| -------- | --------------- | --------- | ----------------- |
| Hosting  | S3AndCloudFront | Create    | awscloudformation |
以上により、プロジェクトファイルの各種設定がAmplify CLIで設定されました。
それでは、上記設定内容に基づき、AWSリソースを実際に生成します。
$ amplify publish
✔ Successfully pulled backend environment main from the cloud.

Current Environment: main

| Category | Resource name   | Operation | Provider plugin   |
| -------- | --------------- | --------- | ----------------- |
| Hosting  | S3AndCloudFront | Create    | awscloudformation |
? Are you sure you want to continue? Yes

(snip)

✔ All resources are updated in the cloud

Hosting endpoint: https://<<ランダム文字列>>.cloudfront.net

                   | EN
-------------------+-----
  Pages            | 19
  Paginator pages  |  0
  Non-page files   |  1
  Static files     | 76
  Processed images |  0
  Aliases          |  0
  Sitemaps         |  1
  Cleaned          |  0

Total in 183 ms
frontend build command exited with code 0
Publish started for S3AndCloudFront
✔ Uploaded files successfully.
Your app is published successfully.
https://<<ランダム>>.cloudfront.net

$ amplify status

Current Environment: main

| Category | Resource name   | Operation | Provider plugin   |
| -------- | --------------- | --------- | ----------------- |
| Hosting  | S3AndCloudFront | No Change | awscloudformation |

Hosting endpoint: https://<<ランダム文字列>>.cloudfront.net
amplify publishコマンドの裏では、CloudFormationスタックが実行されAWSリソースが生成されます。

公開サイト(CloudFront)の確認
無事、公開を確認できました^^ ※本当に、とても簡単でした!
補足
AWS Workshopsのガイドにも記載ありますが、US-EAST-1以外のリージョンだと、DNSが浸透するまで時間がかかり、その間はAccessDeniedになります。
Note: If you deploy this lab in any region other than US-EAST-1 it can take up to a few hours for DNS to replicate which will cause an AccessDenied error to be displayed. This is just for the first time the S3 bucket is created. Any future updates will not have a delay.
https://aws.amazon.com/jp/premiumsupport/knowledge-center/s3-http-307-response/
素直に待つのが良いと思いますが「待ちきれない!」という方は、Amplifyの設定ファイルを少しいじって、次のようなやり方で試してみてもいいかもしれません。 (私は待てなかったので、このやり方で確認しましたw)

